iMessage With an eSIM: Setup, Fixes and Roaming Tips
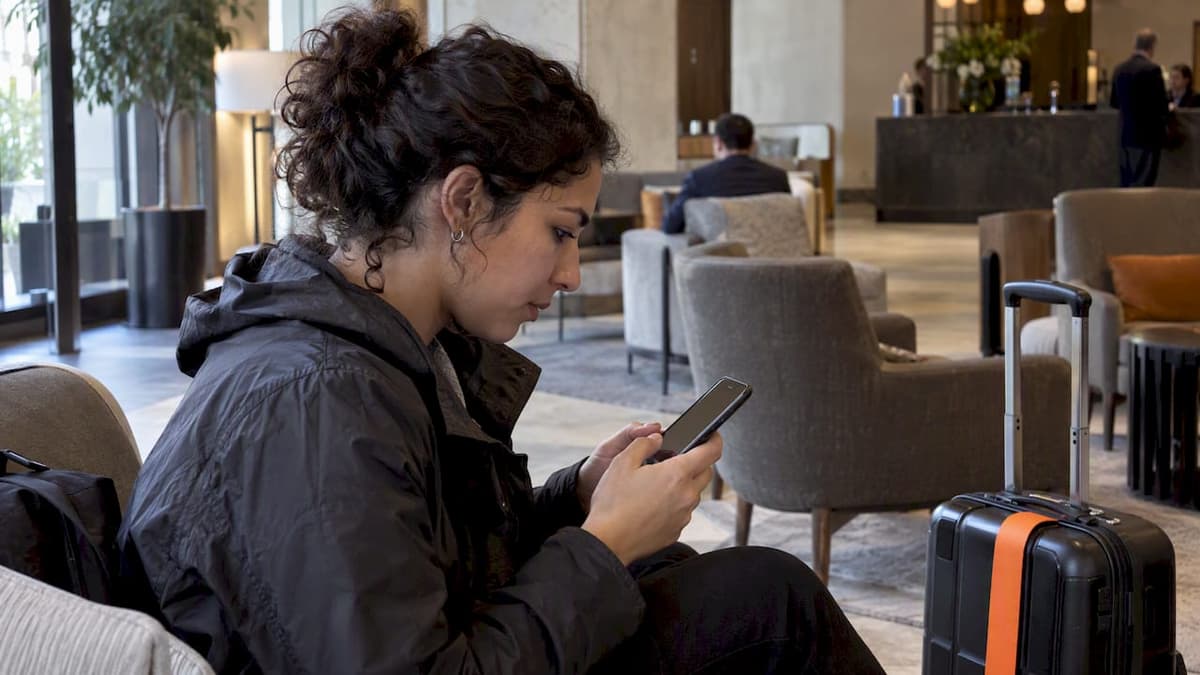
Yes, iMessage works with an eSIM. iMessage runs over the internet, so a travel eSIM that supplies data can carry your blue-bubble messages, while your home number stays your iMessage identity. What trips people up is activation, the data line you pick, and a few iOS 26 quirks. This guide covers all three, step by step.
TL;DR
- iMessage needs Wi-Fi or cellular data, not a phone line, so a travel eSIM can carry it while your home number stays active for identity.
- In Settings > Cellular > Cellular Data, select the travel eSIM. Then turn off data roaming on your home line so you are not billed by your home carrier.
- Phone-number activation of iMessage needs an SMS, which your carrier may charge for. Your Apple Account email works without it.
- On iOS 26, two SIMs showing the same number can break iMessage. Update to iOS 26.1 or later or delete the inactive duplicate.
Table of Contents
- Why iMessage and a travel eSIM get along
- Before you buy: check your iPhone
- Step-by-step: set up iMessage with a travel eSIM
- Number or email: how iMessage activation works
- Fixing iMessage that stops working after an eSIM install
- Perspective: what we tell travelers
- Picking a plan that suits iMessage
- Lumo plans for iMessage on the road
- A pre-flight checklist
- FAQ
- Sources
Why iMessage and a travel eSIM get along
It helps to separate two things: the connection and the identity.
The connection is how your iPhone reaches the internet. iMessage sends texts, photos and videos over Wi-Fi or cellular data, which is why Apple says iMessage works with a travel eSIM. The blue bubble means the message traveled through Apple’s servers rather than as an SMS. Green bubbles are SMS, MMS or RCS, which have different connectivity and plan requirements.
The identity is the phone number or email address that other people use to reach you on iMessage. Apple’s travel guidance describes the setup this way: the travel eSIM supplies the internet, and the home line can remain the identity used by iMessage and FaceTime. You do not need a new US-style number to stay reachable. Your friends keep texting the number they already have.
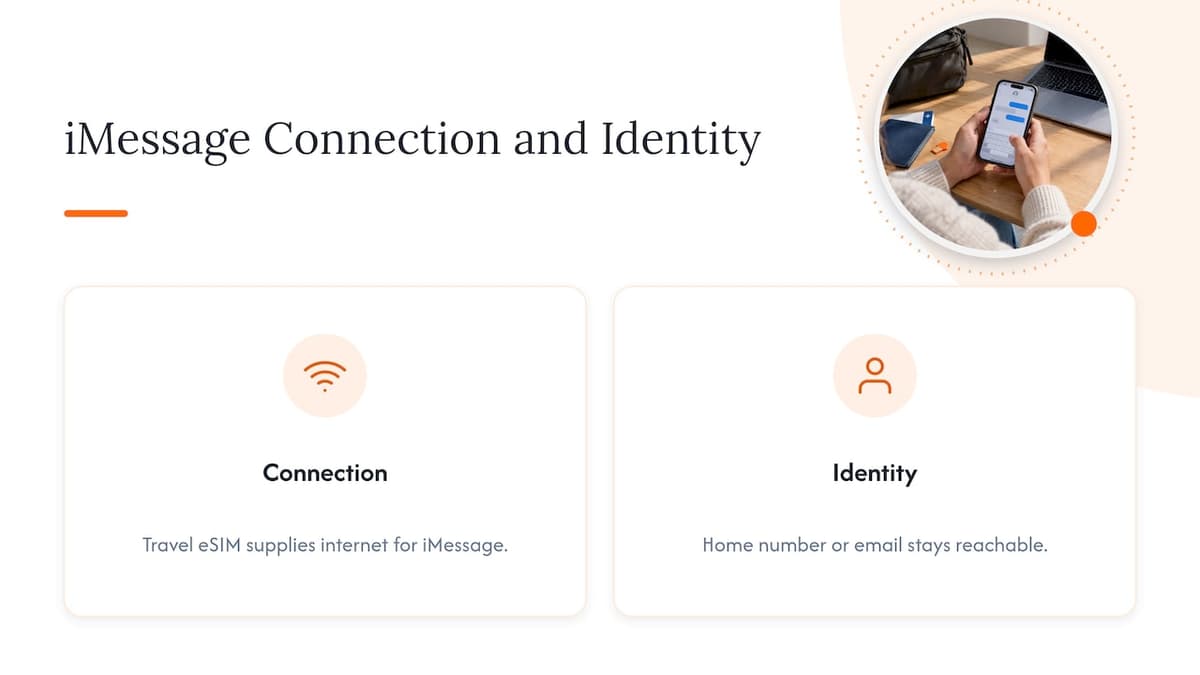
That is also why a data-only eSIM is enough. You are not buying a phone number abroad. You are buying a pipe for the messages you already send.
Before you buy: check your iPhone
Three checks take two minutes and save the most headaches.
- Your iPhone supports eSIM. Apple describes eSIM as a digital SIM built into the iPhone. Most recent models have it, but support varies by model, carrier and region.
- Your iPhone is unlocked. A carrier-locked phone may refuse a third-party eSIM. Our guide on whether a locked phone can use an eSIM walks through how to check and what to ask your carrier.
- You will have Wi-Fi at installation. Apple notes that a Wi-Fi connection is commonly needed during activation. Install the eSIM at home or at the airport before you fly, not on a train platform with no signal.
If you want a sense of how a typical prepaid travel eSIM listing describes prerequisites and setup, this Israel eSIM QR code walkthrough shows the common pattern: scan a QR code, confirm your phone supports eSIM, and keep your regular SIM in place.
Dual eSIM matters too. Apple says iPhone 13 and later support two eSIMs in addition to physical-SIM/eSIM configurations, though exact support still depends on model and carrier. On an older eSIM-capable iPhone you may need to use your physical SIM as the home line alongside the travel eSIM.
Step-by-step: set up iMessage with a travel eSIM
This is the sequence we recommend for most travelers who want to keep their home number.
1. Install the eSIM and label it
Add the plan by scanning the QR code or following the install link in your confirmation. If you have never done a QR install, our explainer on how QR code activation works shows what to expect. If scanning is not an option, there is also a route for activating an eSIM without a QR code.
When your iPhone asks you to label the line, pick something obvious like “Travel” and call the other “Home”. You will thank yourself later when you are scrolling through menus in an airport.
2. Choose the travel eSIM for cellular data
Go to Settings > Cellular > Cellular Data and select the travel eSIM. This matters because an iPhone uses one cellular data network at a time. If your home line is still chosen here, your iMessages and everything else travel on your home carrier’s roaming rates.
The optional Allow Cellular Data Switching setting lets the iPhone use the other line for data when coverage is poor. Apple notes that the alternate line may then provide data, so if you want zero surprises, leave it off.
3. Turn off data roaming on the home line
Apple is blunt about this: international roaming with an eSIM works like roaming with a physical SIM, so the eSIM itself does not erase roaming charges. Open the settings for your home line, then Cellular Data Options, and switch Data Roaming off unless your home plan explicitly covers the country you are visiting. Apple’s roaming page explains where these toggles live for each line.
Apple also warns that keeping both lines on may still incur roaming fees on the home eSIM. If you do not need calls or SMS on your home number while abroad, you can switch that line off entirely. Your iMessages will then flow through the travel eSIM, but you will not receive SMS verification codes sent to that number, so think about banking and two-factor logins before you do it.
4. Confirm iMessage addresses
Connect to Wi-Fi or cellular data, then open Settings > Apps > Messages and make sure iMessage is on. Tap Send & Receive and check that your intended phone number and Apple Account email are both selected, as described on Apple’s iMessage activation page.
If you want a deeper look at the two-line approach, our dual SIM travel setup guide covers keeping your number while skipping roaming bills.
5. Send a test message
Text a friend who uses an iPhone, ideally before you board. A blue bubble confirms iMessage is flowing over the new data connection. A green one means something is off, and the next section covers why.
Number or email: how iMessage activation works
Phone-number activation and data connectivity are two separate things. You can have a perfectly working travel data plan and still have an unverified number.
Apple states that activating iMessage with a phone number requires SMS capability, and that the carrier may charge for the activation message. Apple also says carrier verification may take up to 24 hours and advises against repeatedly toggling the service while the verification spinner is active. The phone is already trying in the background.
This explains a common situation: iMessage works through your Apple Account email, but your number shows as waiting for verification. Nothing is broken. Your travel eSIM is carrying data fine, and the number simply needs an SMS to get through your home carrier.
The practical advice:
- Activate your number before you leave. Do it at home on your home network, while SMS is cheap and reliable.
- If you must activate abroad, check first that your carrier allows international SMS, and expect a possible fee.
- Keep your Apple Account email ticked in Send & Receive as a fallback so people can still reach you.
Fixing iMessage that stops working after an eSIM install
Work through these in order. Each one matches guidance Apple has published.
| Symptom | Likely cause | What to do |
|---|---|---|
| Green bubbles to iPhone users | No data connection, or iMessage off | Check Wi-Fi or cellular data, then toggle iMessage off and on once |
| Messages not arriving | Wrong line or number selected | Confirm the line is on under Settings > Cellular, then reselect the number in Send & Receive |
| Same number listed twice in Cellular | Inactive duplicate SIM on iOS 26 | Update to iOS 26.1 or later, or delete the inactive SIM |
| Messages sent from an email address | Number not activated | Reselect your number in Send & Receive and wait for verification |
| Endless spinner on activation | Carrier verification pending | Wait up to 24 hours and avoid repeated toggling |
The iOS 26 duplicate-number problem
This is the least obvious one. Apple’s April 2026 guidance says that on iOS 26 you might be unable to activate iMessage with your phone number if an inactive SIM with the same number sits next to your active SIM. Symptoms include Not Delivered alerts, green bubbles, messages sent from an email address, and the same number appearing twice in Settings > Cellular. The fix: update to iOS 26.1 or later, or remove the inactive duplicate, then return to Settings > Apps > Messages > Send & Receive and select your number again.
This often shows up after moving a home number to a new eSIM. Check Settings > Cellular before you assume the travel plan is at fault.
Messages not arriving
Apple’s checklist is simple. Verify the line you want is turned on in Settings > Cellular, go to Settings > Apps > Messages, toggle iMessage off and on, and pick the right number in Send & Receive. Also check the connection: iMessage, RCS and MMS need Wi-Fi or cellular data, while SMS needs cellular service.
Watch the SMS fallback
Send as Text Message can rescue a delivery when data is weak, but Apple notes the fallback may create roaming or carrier charges and requires an eligible text-messaging plan. If your priority is a zero-surprise bill, turn it off while abroad and accept that a message may wait for a better connection.
Perspective: what we tell travelers
Most iMessage questions we see are really roaming questions in disguise. People assume the eSIM changes their phone number, so they worry about losing blue bubbles. It does not. The eSIM changes how your phone gets data. Your number and Apple Account stay exactly where they were.
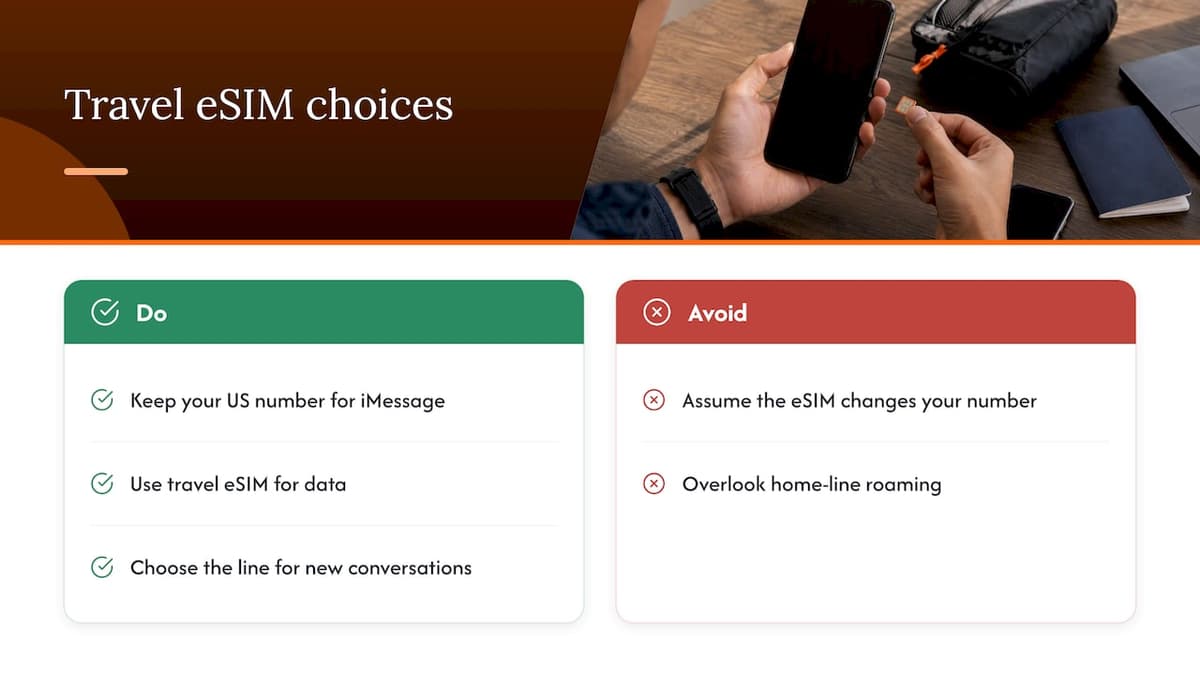
That is why we think of the setup as three decisions, not one: which line carries data, which line stays on for identity, and whether the home line is allowed to roam. Get those right and iMessage feels the same in Lisbon as in Chicago. Get one wrong, usually the data selection or home roaming, and the bill arrives weeks later.
Our advice for business travelers is especially plain. Keep your US number for iMessage and for the verification codes you cannot afford to miss. Put data on the travel eSIM. Choose deliberately which line starts new conversations, because Apple’s Dual SIM model separates line selection from data selection, and the default is not always the one you want. We built our plans around that way of traveling: no contracts, no registration, and instant activation, so the data side is the easy part.
— Theo Wheeler
Picking a plan that suits iMessage
iMessage is light. Text-only messages use very little data, though photos and videos add up quickly, and that is where plan size matters. If your group chat is full of vacation clips, choose more data than you think you need, or leave auto-download of large media for Wi-Fi.
Match coverage to your route:
- One country: a single-country plan is usually the cheapest. Our United States eSIM plans start from $2, one-off, which suits visitors and anyone testing the setup on a domestic trip.
- Several countries in one region: a regional plan avoids swapping eSIMs at borders. Europe plans start from $1 and Asia plans from $2, both one-off.
- A long itinerary: global plans start from $7, one-off.
Prices are the starting points published on our site, and the amount of data and number of days you choose changes the final price.
Lumo plans for iMessage on the road
We sell prepaid eSIM data plans for phones, tablets and laptops, with coverage in 160+ countries, 4G/5G speeds, QR code delivery and guest checkout, so there is no account to create. Because our plans are data-focused, they pair naturally with the setup above: your home number keeps your iMessage identity, and the Lumo eSIM carries the data. If you are heading to the UK, our United Kingdom plans start from $1, one-off. For anywhere else, browse all destinations on Lumo. Support is available 24/7 if installation gets stuck.
For the wider cost picture, our guide to avoiding roaming fees with eSIM and the seven-step roaming checklist are good companions before you fly.
A pre-flight checklist
- Update to the latest iOS, at least 26.1 if you are on iOS 26.
- Confirm your iPhone is unlocked and eSIM-capable.
- Activate iMessage on your number at home, and keep your Apple Account email selected too.
- Install the travel eSIM on Wi-Fi before departure.
- Select the travel eSIM under Cellular Data.
- Turn off data roaming on the home line.
- Check Settings > Cellular for duplicate numbers.
- Decide whether Send as Text Message stays on.
- Send a blue-bubble test to a friend.
FAQ
Why is my iMessage not working with an eSIM?
Usually it is one of three things: no working data connection, iMessage not activated for your number, or on iOS 26 an inactive SIM with the same number installed. Check your data first, then reselect your number in Settings > Apps > Messages > Send & Receive. If your Cellular settings list the same number twice, follow Apple’s duplicate-SIM fix.
Does iMessage use eSIM data?
Yes, when you are not on Wi-Fi, iMessage uses whichever line is selected for cellular data. Plain text uses very little, while photos and videos use more. Select your travel eSIM under Cellular Data so that usage lands on the travel plan instead of your home carrier.
Do I need a phone number on my travel eSIM to use iMessage?
No. A data-only eSIM is enough, because iMessage needs an internet connection rather than a phone line. Your existing number or your Apple Account email serves as your iMessage address. Only phone-number activation needs an SMS, and your carrier may charge for it.
Will using iMessage abroad cost me roaming fees?
Not if data goes through the travel eSIM and roaming is off on your home line. Apple says an eSIM does not remove roaming fees on a line that is roaming, so check each line’s settings. SMS fallback is the other place charges can appear.
Why am I not getting messages on my iPhone after switching eSIMs?
The line may be off, or the wrong number may be selected. Confirm the line is on in Settings > Cellular, toggle iMessage off and on once, and pick your number in Send & Receive. If a verification spinner appears, wait: carrier verification can take up to 24 hours.
Sources
- Use eSIM while traveling internationally with your iPhone, Apple Support
- If you can’t activate iMessage with your phone number in iOS 26, Apple Support
- If you can’t turn on or sign in to iMessage or FaceTime on your iPhone, Apple Support
- If you can’t send or receive messages on your iPhone or iPad, Apple Support
- Using Dual SIM with an eSIM, Apple Support
- Set up eSIM on iPhone, Apple Support
- About cellular data roaming options for your iPhone and iPad, Apple Support
Recommended
- Essential Guide to Avoiding Roaming Fees with eSIM
- Dual SIM Travel Setup: Keep Your Number, Skip Roaming Bills
- eSIM Activation Issues: Quick Fixes for iPhone Users
- eSIM Across Borders: 4 Checks Before You Fly
Related Topics
Stay Connected Anywhere
Prepaid eSIM data plans for 180+ countries and territories. No physical SIM required.