Install Android Travel eSIM in Under a Minute: Preflight Checklist
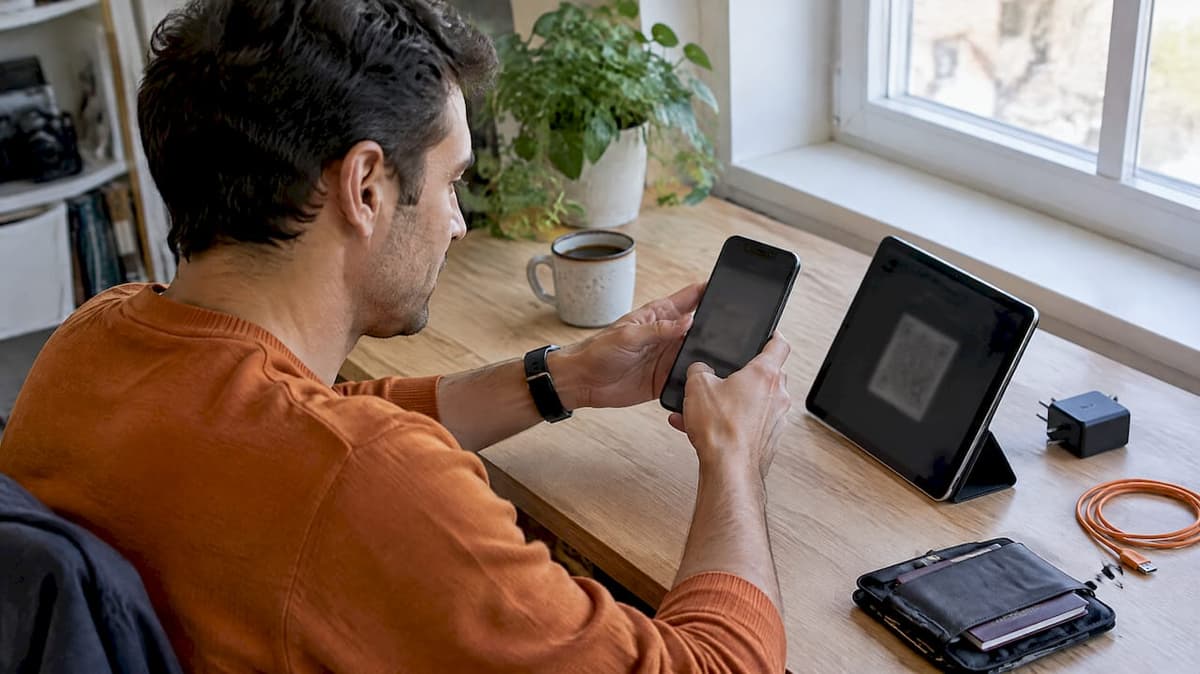
Modern Android phones generally support travel eSIMs for data while keeping your main SIM active for calls and texts, so the answer is yes: use one. The immediate next step is to confirm your device supports eSIM and that it’s carrier-unlocked, then line up a prepaid travel plan or QR profile before you leave home.
TL;DR:
- Most Android phones that support eSIM can handle multiple profiles, allowing travelers to keep the home line active for calls and texts while using a travel eSIM for data.
- The support for eSIM varies by device and carrier, making it essential to check device unlock status and support before purchasing a plan.
- Installing an eSIM requires stable Wi-Fi, a backed-up two-factor authentication, and can be done easily via QR code or manual code entry, preferably before departure.
- Downloading the eSIM profile at home over Wi-Fi and delaying activation until after landing prevents wasting data validity windows.
- Using a travel eSIM enhances security by reducing reliance on public Wi-Fi, especially when combined with a VPN and proper device updates.
Table of Contents
- Quick pre-trip checklist for using an eSIM on Android
- Which Android phones support eSIM, and how dual-SIM behaves
- Step-by-step: install a travel eSIM on Android
- Downsides and troubleshooting: typical issues and fixes
- Security and privacy best practices when using a travel eSIM
- How to choose the right travel eSIM plan
- Why we’re built for this exact setup
- A simple routine worth repeating before every trip
- Where to buy your Android travel eSIM
- FAQ
- Sources
Quick pre-trip checklist for using an eSIM on Android
A little prep work on your couch saves a frustrating scramble at baggage claim. Walk through these steps a few days before departure.
- Check Settings for eSIM support and confirm your carrier has unlocked the device, since a locked phone won’t accept a second profile. Google’s Pixel eSIM guidance and Samsung’s activation steps both cover this first.
- Back up two-factor authentication codes and decide whether you need your home SIM active for SMS-based verification or voice calls.
- Choose single-country, regional, or global coverage based on your itinerary, and decide whether to buy before you fly or on arrival.
- Connect to Wi-Fi to download your eSIM, and save the QR code or activation code somewhere you can find it without data.
The FCC’s international roaming guidance specifically recommends unlocking your phone and researching roaming rules before travel, since domestic plans rarely cover you once you cross a border.
Pro Tip: Screenshot your QR code and also save it as a PDF, so you have a backup if one app or photo gallery fails to load it at the airport.
Which Android phones support eSIM, and how dual-SIM behaves
An eSIM is a digital SIM built into your phone rather than a physical card you swap out. Dual-SIM means running an eSIM and a physical SIM, or two eSIMs, at the same time, so you can keep two lines active on one device.
- Recent Pixel models increasingly ship eSIM-first or SIM-only, according to Pixel’s own support page, which also confirms multiple eSIM profiles can live on one phone.
- Samsung’s Galaxy support documentation walks through adding an eSIM by transfer, QR scan, or carrier app, and notes that not every carrier supports the feature yet.
- In practice, most travelers let the travel eSIM handle data while the home SIM stays on standby for texts, calls, or app verification codes that only work with your original number.
Step-by-step: install a travel eSIM on Android
Before you touch the installer, confirm three things: your phone is unlocked, you have a stable Wi-Fi connection, and you’ve backed up any two-factor codes tied to your current number. Some providers also ask for your device’s EID, a unique eSIM identifier found in your settings.
- Open Settings, then go to Network & internet on Pixel or Connections on Samsung, and look for Add mobile plan or Add eSIM.
- Choose to scan a QR code, point your camera at the code your provider sent, and confirm the new profile when prompted.
- If the scan fails, switch to manual entry: type the activation code directly, or use the provider’s app to download the profile instead.
- Name the new line something recognizable, like “Travel Data,” and set it as your data line while keeping your primary SIM assigned to calls and messages.
Samsung’s setup instructions recommend finishing this process over Wi-Fi rather than cellular data, since a shaky connection is a common cause of failed installs. Decide ahead of time whether to activate immediately or wait until landing. Pre-activating burns through your validity window before you’ve left the gate, while waiting until you land means your phone searches for a network cold.
Pro Tip: Install the eSIM at home on Wi-Fi, but don’t activate the plan itself until you land, so your data window starts when you actually need it.
Downsides and troubleshooting: typical issues and fixes
Travel eSIMs fail for a short list of predictable reasons, and most have a five-minute fix.
- A locked device or a carrier that doesn’t support eSIM will block installation entirely, no matter how many times you rescan the code.
- A QR scan that won’t read usually means poor lighting, a cracked screen protector, or a code that’s already been used once.
- Data that won’t connect after installation often traces back to the wrong network mode or an APN setting that didn’t load automatically.
Try toggling airplane mode on and off, confirming mobile data is switched on for the new line, and restarting the phone before reinstalling the profile. If none of that works, reconnect to Wi-Fi to re-download the eSIM, or contact the provider. Keep your physical SIM as a fallback until you’ve confirmed the new line works.
Security and privacy best practices when using a travel eSIM
Update your phone’s operating system and modem firmware before you leave, not after you land in a new time zone with spotty signal. The FCC’s cybersecurity guidance for international travelers recommends this specifically, along with avoiding open public Wi-Fi for anything sensitive.
- Use your cellular eSIM connection instead of hotel or airport Wi-Fi when logging into banking or email.
- Add a reputable VPN as a second layer of protection on networks you don’t control, especially in airports and cafes.
- Delete unused eSIM profiles once you’re home, and double-check your 2FA backups are current before you travel again.
A reputable travel eSIM reduces your reliance on open public networks, which the FCC flags as a common entry point for data theft abroad. Our own breakdown of mobile data security essentials covers device-level settings worth checking before departure, and our eSIM security best practices guide goes deeper on VPN selection.
How to choose the right travel eSIM plan
Start by estimating actual data use: maps and messaging are light, video streaming and hotspot sharing are not. Build in a buffer rather than cutting it close.
- Add roughly 20 to 30% more data than your estimate to cover unexpected hotspot use or a day of heavy map navigation.
- A single-country plan is usually cheaper per gigabyte, but a regional or global plan avoids re-installing a new profile at every border on a multi-stop trip.
- Confirm tethering is allowed, check the provider’s coverage map for your actual route, and note whether activation happens by QR, manual code, or app before you buy.
Our guide to avoiding roaming fees with eSIM walks through this sizing decision in more detail, including how trip length should factor into whether you buy a short regional plan or a longer global one.
Why we’re built for this exact setup
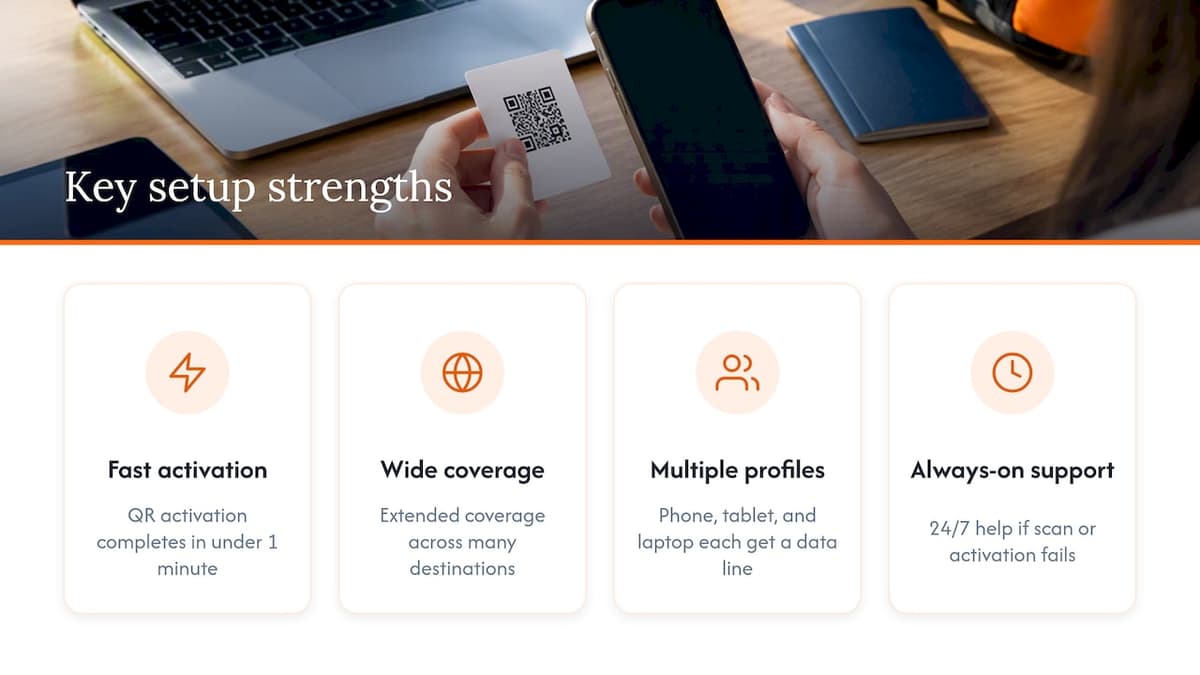
This platform was designed around the install flow above: QR activation that typically completes in under a minute, extended coverage across many destinations, and support for multiple profiles so your phone, tablet, and laptop can each carry their own data line. Support is available 24/7 if a scan fails or a profile won’t activate. For Pixel owners specifically, our Pixel eSIM setup walkthrough mirrors the onboarding steps above with device-specific screenshots.
A simple routine worth repeating before every trip
My own pre-trip routine is short: confirm the phone’s unlocked, back up 2FA, buy the plan, install it on Wi-Fi, then test it before boarding. I’ll pick an eSIM over my home carrier’s international add-on almost every time the data allowance beats the markup, which it usually does on trips longer than a few days.
— Theo Wheeler
Where to buy your Android travel eSIM
Pick the plan that matches your route, not the other way around. If you’re hitting several countries on one trip, our Global eSIM Plans start from a low one-off price for a 30-day, 3GB plan and skip the need to reinstall at each border. If you’re staying in one region, a destination-specific plan like our Europe eSIM Plans offer one-off 30-day plans with affordable starting prices, is the cheaper route per gigabyte.
- Check your device’s eSIM compatibility and unlock status first, using the official steps covered above.
- Buy before you fly and install over home Wi-Fi so you land ready to connect.
For a U.S.-based test run before an international trip, our United States eSIM Plans start at an accessible one-off price for a 30-day, 3GB plan, letting you confirm the install flow works on your specific phone.
FAQ
How do eSIMs work for travel on Android?
An eSIM is a digital profile you install through your phone’s settings, either by scanning a QR code or entering an activation code, rather than inserting a physical card. Once installed, most Android phones let you run it alongside your home SIM, so your travel eSIM handles data while your original number stays available for calls and texts.
What are the downsides of using an eSIM?
Not every carrier or device supports eSIM yet, and installation can fail if your phone is locked or your Wi-Fi connection drops mid-download. QR codes can also fail to scan due to screen glare or a code that’s already been redeemed, though most of these issues clear up with a restart or a fresh download.
Which eSIM is best for travel?
The right choice depends on your route: a single-country or regional plan is usually cheaper per gigabyte, while a global plan avoids reinstalling a new profile at every border. Our Global eSIM Plans cover many destinations with one profile, which suits multi-stop itineraries better than buying country by country.
Does eSIM work on any Android phone?
No, only devices with eSIM hardware and an unlocked carrier status can install one, and support varies by manufacturer and model. Recent Pixel and Samsung Galaxy phones generally support it, according to Pixel’s own help pages and Samsung’s support documentation, but it’s worth checking your specific model before you buy a plan.
Sources
We relied on official device and regulator guidance to verify the setup steps and security advice above, including passport and travel-document prep covered in this mobile passport control guide for readers tackling a full pre-trip checklist.
- Learn more about eSIMs - Pixel Phone Help
- Set up your new Samsung Galaxy - eSIM activation steps
- International roaming: mobile phone use abroad | Federal Communications Commission
Recommended
Related Topics
Stay Connected Anywhere
Prepaid eSIM data plans for 180+ countries and territories. No physical SIM required.