SIM profile management: Effortless global connectivity explained

TL;DR:
- Having a travel eSIM alone does not prevent roaming charges; active SIM profile management is essential.
- Properly installing, labeling, and switching profiles before and during travel helps avoid expensive data fees and ensures connectivity.
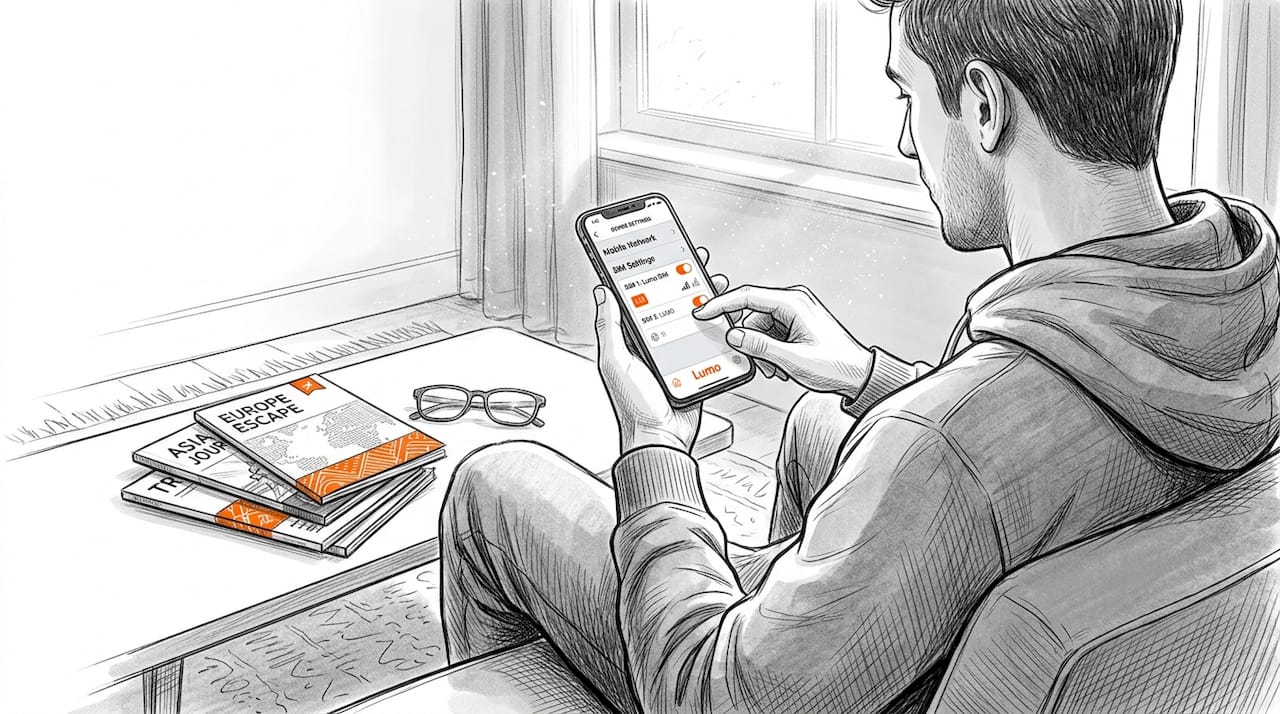
You bought a travel eSIM, installed it before your flight, and felt confident you’d dodge those brutal roaming fees. Then your first bill arrived. Sound familiar? Apple’s guidance for international travel confirms what many travelers learn the hard way: simply having a travel eSIM installed is not enough. You also need to actively control which profile your phone uses for data. That single detail, overlooked by millions of travelers every year, is exactly what SIM profile management is all about.
Table of Contents
- What is SIM profile management?
- Dual SIM and eSIM: How multiple profiles work
- Avoiding roaming fees: Smart profile selection
- Best practices for seamless SIM profile management
- The overlooked truth: It’s not just about having a travel eSIM
- Ready for stress-free global data? Try Lumo eSIM for easy SIM profile management
- Frequently asked questions
Key Takeaways
| Point | Details |
|---|---|
| Avoid roaming surprises | Active SIM profile selection prevents accidental roaming charges when traveling. |
| Label and organize profiles | Clear labeling helps you switch lines and manage multiple plans with confidence. |
| Check data settings every trip | Manually verify which SIM profile your device uses for data before using it abroad. |
| Effortless switching is possible | Modern devices make switching between eSIM profiles fast and seamless for global explorers. |
What is SIM profile management?
A SIM profile is a digital record stored on your device’s eSIM chip. Think of it as a virtual SIM card that holds all the credentials, network permissions, and plan details for a specific mobile carrier. Unlike a physical SIM card you pop in and out of a tray, a SIM profile lives entirely in software. That means you can store multiple profiles at once and switch between them without touching any hardware.
SIM profile management refers to the full process of installing, labeling, activating, and switching between those profiles. For a remote worker juggling a home carrier plan and a regional data plan while working from Lisbon or Bangkok, this is the tool that keeps connectivity organized. For a traveler spending two weeks across three countries, it’s the difference between paying local data rates and getting hit with per-megabyte roaming charges from back home.
Key things SIM profile management lets you do:
- Install multiple profiles from different carriers onto a single device
- Activate or deactivate individual profiles depending on where you are
- Assign roles to each profile, such as designating one for calls and another for data
- Label profiles so you always know which plan is which at a glance
- Switch your primary data line in seconds through device settings
Apple describes setting up eSIM plans as a process done entirely within system settings, where you can activate plans, label them clearly, and control which one is used for both calls and cellular data. Understanding the basics of eSIM profile basics is the essential first step before you ever board a flight.
Pro Tip: Before your next trip, open your phone’s cellular settings and spend five minutes identifying every installed profile. Label each one clearly right now, while you’re at home and have time to think.
Dual SIM and eSIM: How multiple profiles work
Most modern smartphones support Dual SIM functionality, meaning they can run two lines simultaneously. This typically works in one of two ways: one physical nano-SIM alongside one eSIM, or on newer devices, two eSIM profiles running at the same time without any physical card at all.
The device’s operating system acts as a traffic controller for these profiles. It lets you decide, in real time, which line handles your calls, which handles text messages, and critically, which one routes your mobile data. Getting this configuration right is the core skill behind effective managing multiple eSIM profiles.
Here’s a simple comparison of the two most common Dual SIM setups:
| Setup type | Physical SIM | eSIM | Best for |
|---|---|---|---|
| Physical + eSIM | Yes | Yes | Travelers keeping home number active |
| Dual eSIM | No | Two eSIMs | Digital nomads going fully wireless |
| Single eSIM only | No | One eSIM | Light travelers with one plan at a time |
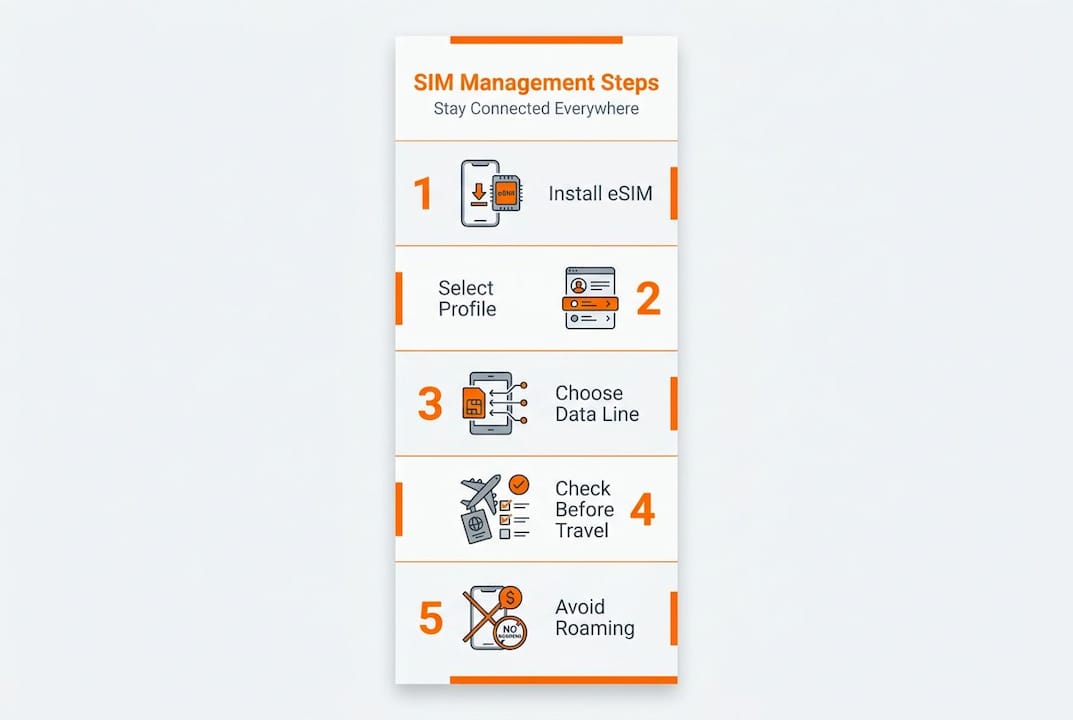
To get the most out of your setup, follow these steps every time you travel:
- Open your device’s cellular or mobile data settings before departure.
- Confirm each installed profile is correctly labeled (for example, “Home AT&T” or “Europe Travel”).
- Set the correct profile as your preferred data line.
- Decide whether to keep your home line active for calls and texts, or turn it off entirely.
- Test your data connection before leaving the airport to confirm the right profile is active.
Apple describes setting up eSIM plans as straightforward once you know where to look, but the actual system settings for SIM management vary between iOS and Android. Take time to explore your specific device’s interface before you need it under pressure at a foreign airport. For travelers managing connectivity across multiple gadgets, multi-device eSIM connectivity opens up even more flexibility for tablets and laptops on the road.
Pro Tip: Always double-check your primary data line immediately before crossing any international border. A 30-second check in settings can save you from a surprisingly large bill.
Avoiding roaming fees: Smart profile selection
Here’s where most people go wrong. They install a travel eSIM, feel good about it, and then trust the phone to figure out the rest. But your phone does not automatically know you want to use your new travel plan. If your home carrier profile is still set as the default data line, your device will happily route all your data through it, racking up international roaming charges at every megabyte.
Apple’s guidance for international travel makes this explicit: SIM profile management means actively selecting which plan handles calls, messages, and data so roaming charges can be avoided. The key word is “actively.” This is a manual step you must take.
Even with both profiles installed and active, Apple’s guidance for international travel notes that data routing choices matter critically. If data is not correctly directed to the travel profile, your phone may still create roaming exposure through your home carrier. This is the edge case that catches even experienced travelers off guard.
The impact of different data settings on costs is stark:
| Data line setting | Scenario | Estimated cost per GB |
|---|---|---|
| Home carrier (abroad) | Roaming active | $10 to $30+ |
| Travel eSIM (correctly set) | Local data rates | $2 to $8 |
| Travel eSIM (incorrectly set) | Roaming still active | $10 to $30+ |
To stay protected, do the following every time you travel internationally:
- Navigate to cellular or mobile data settings and set your travel eSIM as the data line
- Disable data roaming on your home carrier profile as a secondary safeguard
- Read any prompts your phone shows when you land carefully before tapping “accept”
- Consider temporarily disabling your home line entirely while abroad if you don’t need calls
“The most reliable way to guarantee no accidental roaming is to temporarily disable your home line when you cross a border. It takes seconds and eliminates the risk entirely.”
A solid roaming charges guide walks you through every layer of protection. For a step-by-step pre-travel routine, the guide to avoiding roaming fees covers every scenario. If you want a quick reference on the road, a printable roaming fees checklist is worth bookmarking. Getting customizing travel plans right before departure means you’re already thinking about connectivity as a deliberate choice, not an afterthought.
Best practices for seamless SIM profile management
Knowing the theory is one thing. Turning it into a reliable travel habit is another. Here’s how to build a setup that genuinely works every single trip.
- Label every profile the moment you install it. Use clear, specific names like “US Home Verizon” or “Asia Pacific Travel.” Generic labels like “Plan 1” cause confusion at the worst possible moments.
- Review your active data line before every departure. Add it to your pre-travel checklist alongside checking your passport and downloading offline maps.
- Practice switching profiles at home. Familiarize yourself with your device’s specific menus so the process feels instinctive when you’re tired and jet-lagged at an international terminal.
- Save your eSIM QR codes somewhere safe and accessible. If you ever delete a profile by accident or need to reactivate after a device reset, having that QR code saved in your email or cloud storage is a lifesaver.
- Verify carrier and device compatibility before purchasing any new plan. Not all eSIM plans work on every device or network band.
Apple describes setting up eSIM plans clearly within system settings, and the process of setting up eSIM profiles becomes second nature after a few trips. Understanding what different eSIM data plans offer helps you choose the right one for each destination.
Pro Tip: Before any international trip, do a full “profile audit”: open settings, confirm which profile is set for data, check that data roaming is off on your home line, and verify you have enough data on your travel plan for your expected usage.
The overlooked truth: It’s not just about having a travel eSIM
We’ve helped a lot of travelers get connected across dozens of countries, and the pattern is always the same. Someone does the research, buys a reputable travel eSIM, and still ends up with a roaming charge. The eSIM didn’t fail them. Their assumption did.
The real problem is that people trust their device’s automatic behavior. Phones are designed to stay connected at all costs, and if your preferred data line happens to be your home carrier, that’s exactly what your phone will use, even if it’s expensive. The device is not making a judgment call about your budget.
The most common failure point, without exception, is not checking which profile is active for data after crossing a border. System prompts can be ambiguous. A message that asks “Use cellular data while roaming?” sounds optional. It isn’t. Tapping “yes” can trigger roaming charges that wipe out the savings from your entire travel eSIM purchase.
A simple manual review of your settings takes less than a minute. Make it non-negotiable. Check the roaming fee reality check to understand exactly where these charges originate and why automation alone won’t protect you. The travelers who never get surprise bills are not the ones with the most expensive plans. They’re the ones who verify their settings every single time.
Ready for stress-free global data? Try Lumo eSIM for easy SIM profile management
You now understand exactly how SIM profile management works and why every detail matters. The next step is making sure your actual eSIM plan is as reliable as your settings routine.
Lumo’s instant global data plans cover 200+ destinations with flexible, affordable options that activate in seconds via QR code. Whether you’re a frequent flyer, a remote worker hopping time zones, or a first-time international traveler, Lumo makes it genuinely simple to switch profiles, top up data, and stay connected without ever worrying about a surprise roaming charge. Plans are built for the way modern travelers actually move.
Frequently asked questions
Can I have both my home and travel eSIM profiles active at the same time?
Yes, most modern phones let you keep both profiles active simultaneously, but you must manually select which one handles your mobile data to avoid roaming fees from your home carrier plan.
How do I choose which SIM profile handles my mobile data?
Go into your device’s cellular or SIM settings and look for “mobile data” or “cellular data” options, where you can select the preferred profile for all data usage.
What’s the most common mistake people make with SIM profiles when abroad?
Travelers most often forget to switch their data line to the travel SIM, so their home carrier stays active and creates unexpected roaming exposure with every megabyte used.
Is SIM profile management the same on Android and iPhone?
The core concept is identical on both platforms, but the specific menus, labels, and steps differ between iOS and Android, so it’s worth exploring your device’s settings before you travel.
Recommended
Related Topics
Stay Connected Anywhere
Get instant eSIM data plans for 160+ countries. No physical SIM required.